Week One Overview:
This
is our beginning! During this week we will construct our books. I will
teach you how to fold your books and then I will guide you into making
them sturdy and strong.
Next
I will demonstrate how to use materials such as gesso, matte medium and
cotton or silk for added texture and strength. Finally, I will show
you how to tint the edges of your books that will give depth and
compliment your theme.
Week One Supplies
- gesso
- matte medium
- old paintbrush
- tub of water
- paper towels
- ruler or straight edge
- two strips of cotton, silk, muslin or any other plain fabric,
about 1 inch by 7 inches
- one piece of 4 x 4" silk or lightweight fabric
for the center panel of your book
- two pieces of rice or other textured paper
for the two back sides
about 4 x 4 inches
- some acrylic or watercolor paints,
subtle colors that can be watered down for tinting.
- one square piece of muslin or heavy cotton,
about 4 inches by 4 inches.
*Gesso is
like a very heavy, white paint primer. It makes your surface strong
and gives you a wonderful background to work on. You can apply it
smoothly or unevenly. Gesso dries white, opaque and without a sheen.
*Matte Medium for
me is the glue that holds everything together. I use it over the
gesso, over collaged papers lace, fabric and over just about everything.
You can apply it smoothly or unevenly. It dries clear.
Before you start...
if you have not used matte medium or gesso before try painting the
surfaces of some scraps of watercolor paper with both. You can use these
later.
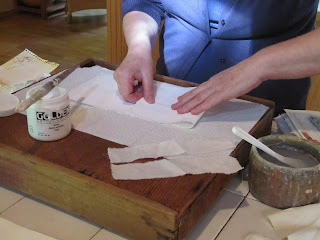
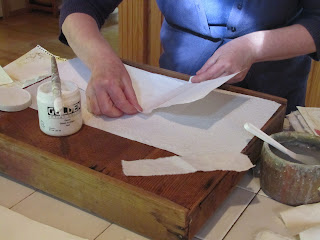
Also
experiment using matte medium to "glue down" a piece of thin or
textured rice paper. Use a coat underneath and over the rice paper. Dab
with a paper towel, I do this to give my piece a natural surface when
it dries.
The video and the instructions go hand in hand, if you have a question about one, it may be answered in the other.
But
if something isn't clear, please put your question in the comment box
at the bottom of this (and every) post! That way, if other people have
a the same question, it will be answered here and we can have a
discussion!
our first week here:
The password is goldenthreads
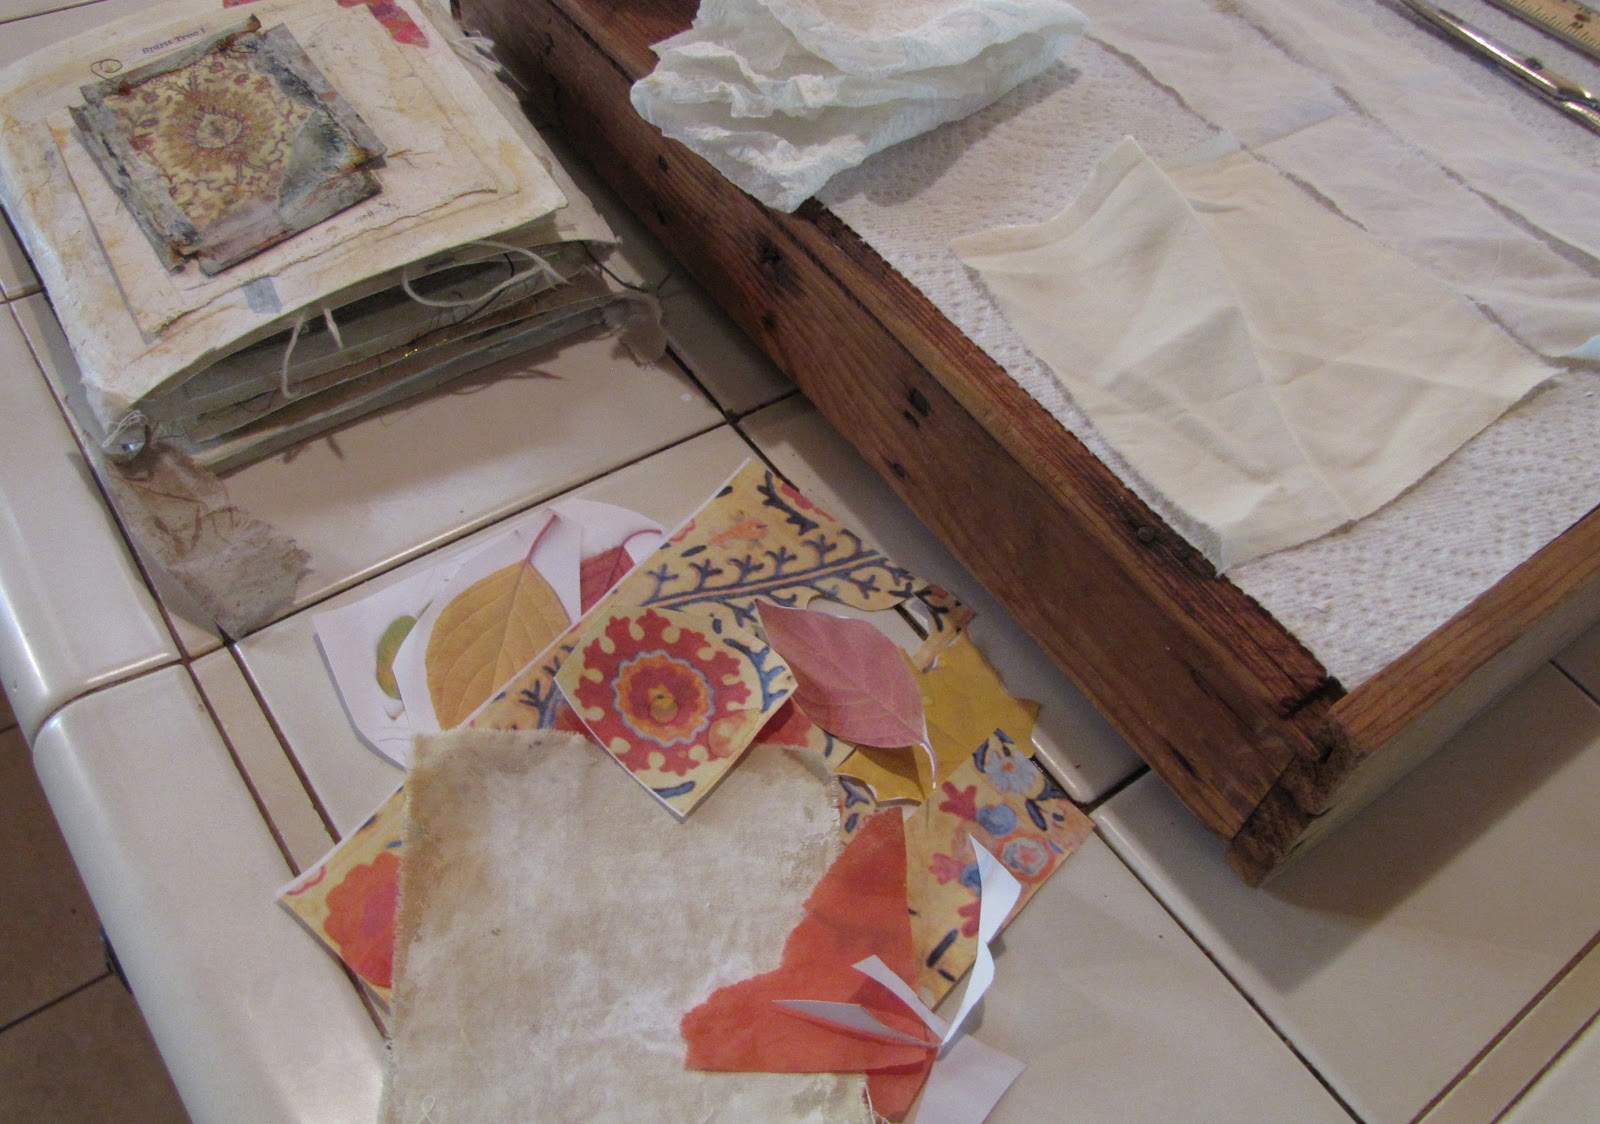
*Prepare one piece of watercolor paper, torn or cut, (I like torn edges).
The size should be about 16 inches by 6inches. To tear you can use a
straight edge to tear against, like a yardstick, or fold back and forth
in both directions and then tear. Either way go slow!
1. Cover water color paper with a coat of gesso, let it dry.
(This will be the outer side. You can put it in the sun or use a hair dryer to speed up the drying process.)

2. Fold your paper into three areas.
3. Now, open your "book" and gesso the inside.
4. Put an extra coat of gesso on the folds of your paper,
and cover them with your strips of fabric.
5. Put another light coat of gesso over the top of your fabric strips, let dry.
6. To the back, add the square piece of silk or lightweight fabric,
use matte medium, with one coat under, and one over the silk.
(smooth out air bubbles with your fingers or a paper towel)

Kim Henkle, book construction
7. Still using matte medium, cover the two outer sides of the back of your book,
and lay down one piece of rice paper, then add a layer over it
following directions for the silk.
8. Repeat for other side.

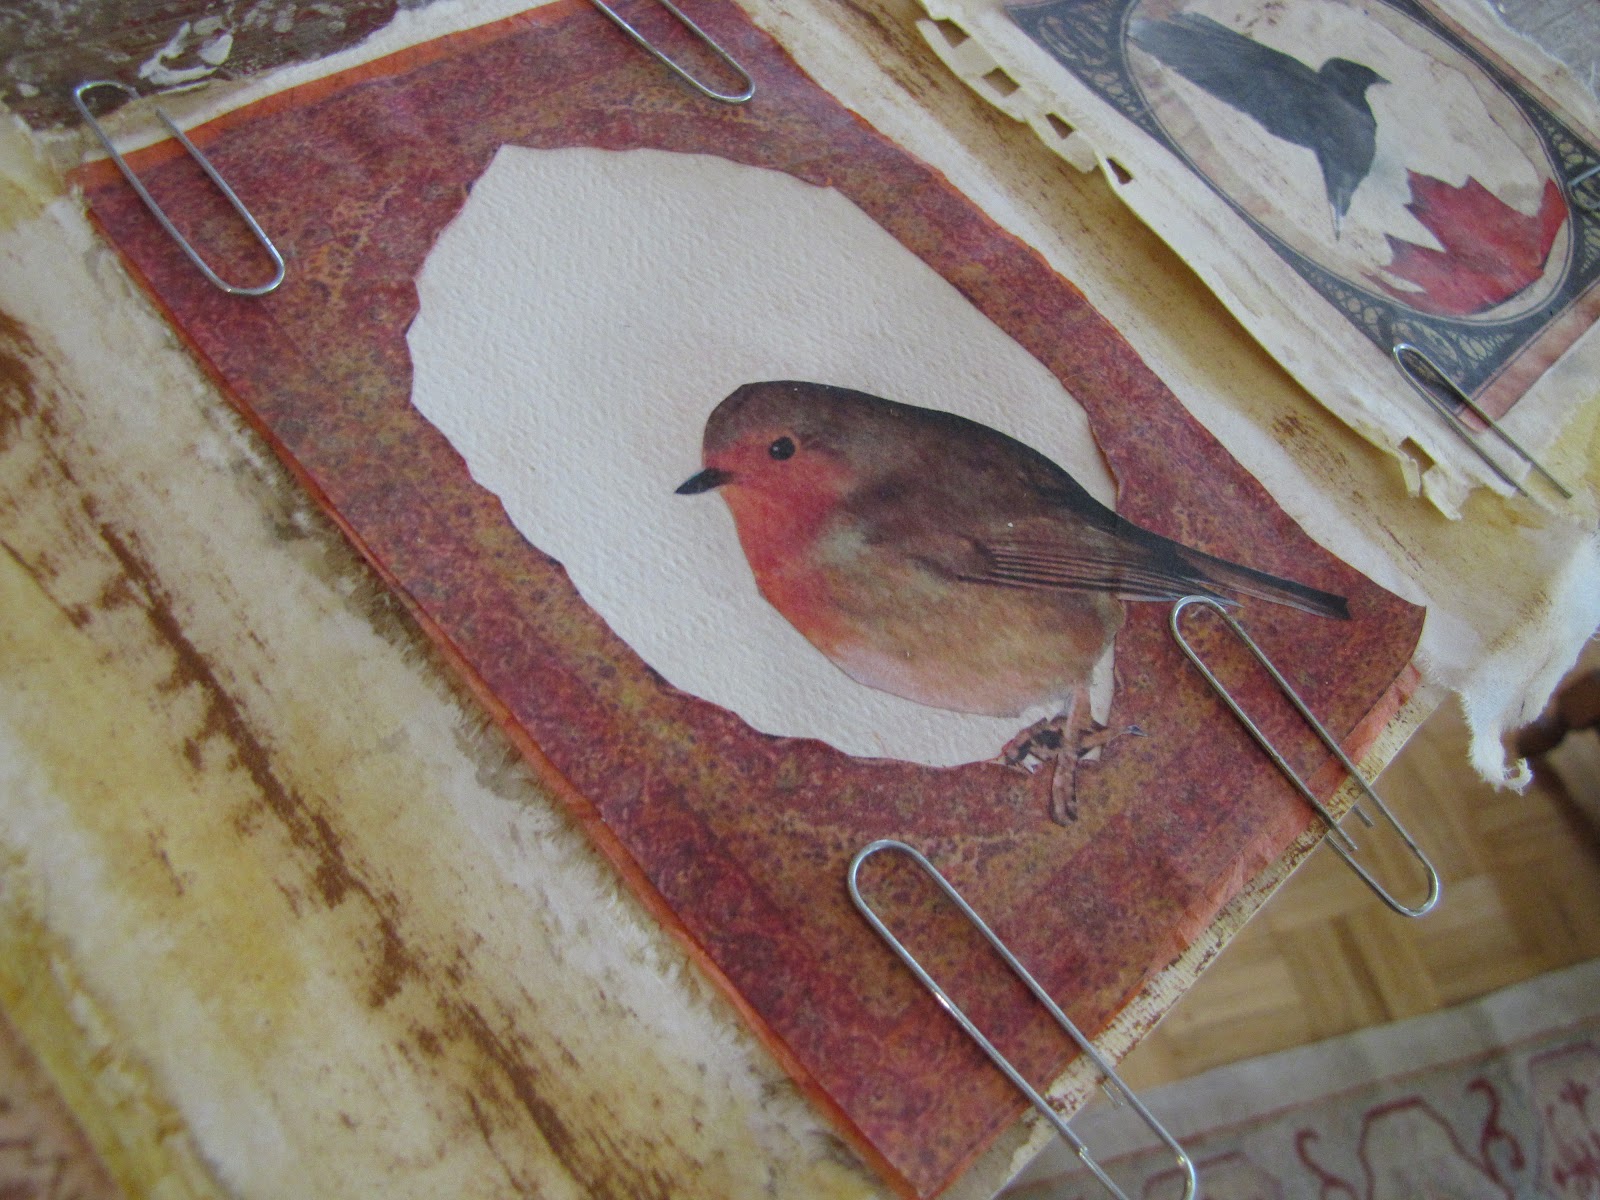
9. When it's dry, turn your book over and tint the edges using just a slight bit of color and lots of water. Set aside.
(You might want to do a couple of these!)
1. Cover your square piece of cotton with gesso, on both sides (this is messy!), let it dry
2. Assemble a group of papers, fabrics or images that appeal to you at this moment.
3. Practice laying them out on your cotton in different ways.
4. When you find one that you like, move it piece by piece to the side of your fabric.
5. Using matte medium, cover the surface of your fabric
(which should be stiff and almost like paper)
6. Place one item at a time down, and then cover it with matte medium.
7. Finish your collage using this process.
(click the title)
In this video I will discuss the process of how I decide on a theme for a book.
The truth is that sometimes I know from the beginning what my theme will be and sometimes the idea comes to me later!

Collect
colors that remind you of this season... These could be scraps of your
artwork, fabrics, papers or found objects from nature. Pile them, tie
them with twine or string. On scrap piece of paper write words to
describe what this season means to you. Lay this on the top of your
pile, underneath your string.
collecting and writing sample by
Seth Apter
If you like, you can use this prompt:
-three words that describe the sky or the skyline
-the name of the season
-two words that describe the smells or the weather
-one descriptive phrase describing how this season makes you feel
-the name of the season
* you could also look up this season in different languages and choose your favorites to add here.
Have a joyful and creative week!
Roxanne